Chrome OS and Android
Overview / Basic Information
- The process for setting up a VPN connection in Chrome OS and Android is very similar, so this is explained in a single guide
- Please note that the actual appearance of the app in the screenshots may vary depending on the software version or the type of device/manufacturer
- The latest updates are installed on your device, and you are using the most recent version of the software
Note:
When using devices with the Android operating system, desktop mode must not be enabled in the browser. Otherwise, the following error message will appear after logging in: “localhost:29786 Connection refused”: When using devices with the ChromeOS operating system, desktop mode is enabled by default in the Chrome browser and cannot be disabled.
In this case, please use an alternative browser, such as Firefox, to work around the issue.
Step 1
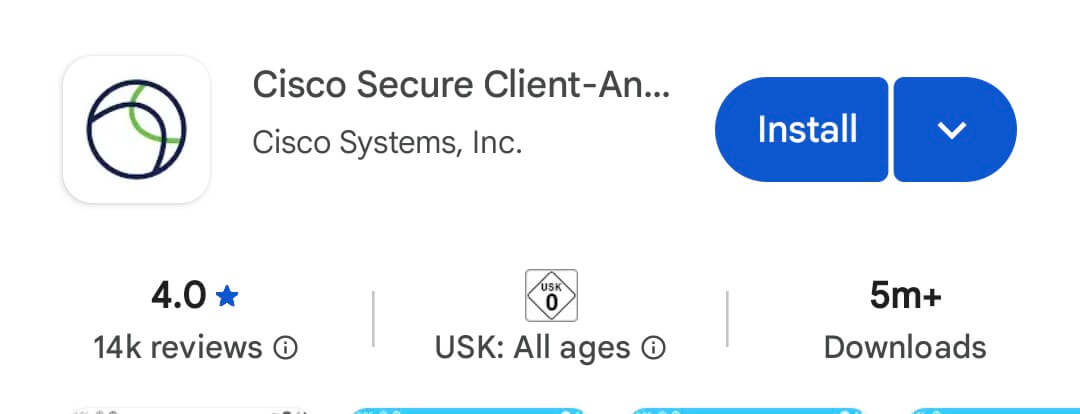
Install the software from the Google Play Store
Step 2
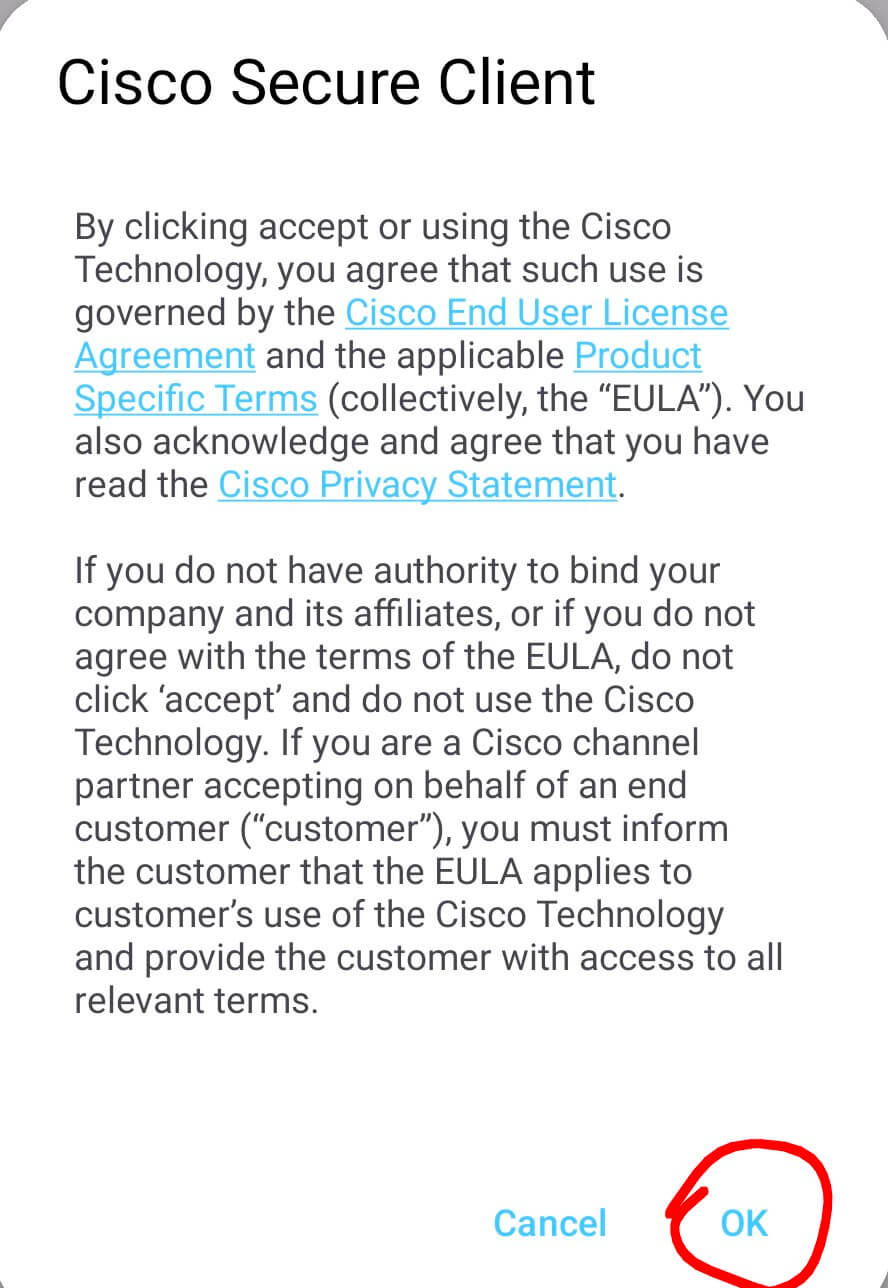
If necessary, accept the terms of service
Step 3
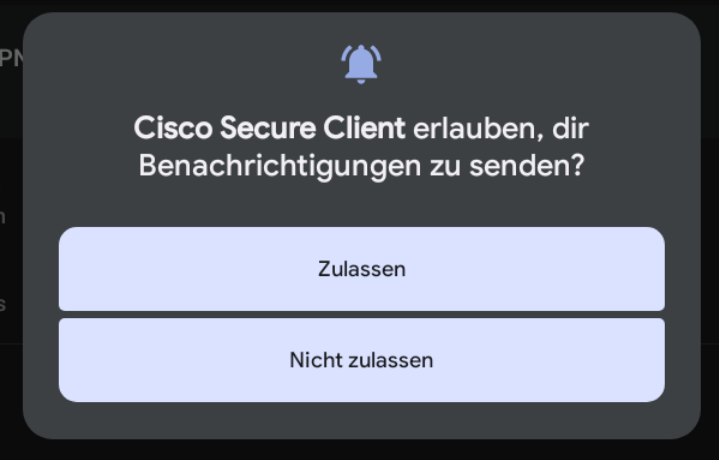
Decide whether you want to allow notifications. If you do not allow them, you will be notified that this may cause problems
Step 4
Add a new connection by following these steps. Click on each one

Step 5
Enter a description and the RRZ VPN gateway, then click “Done”

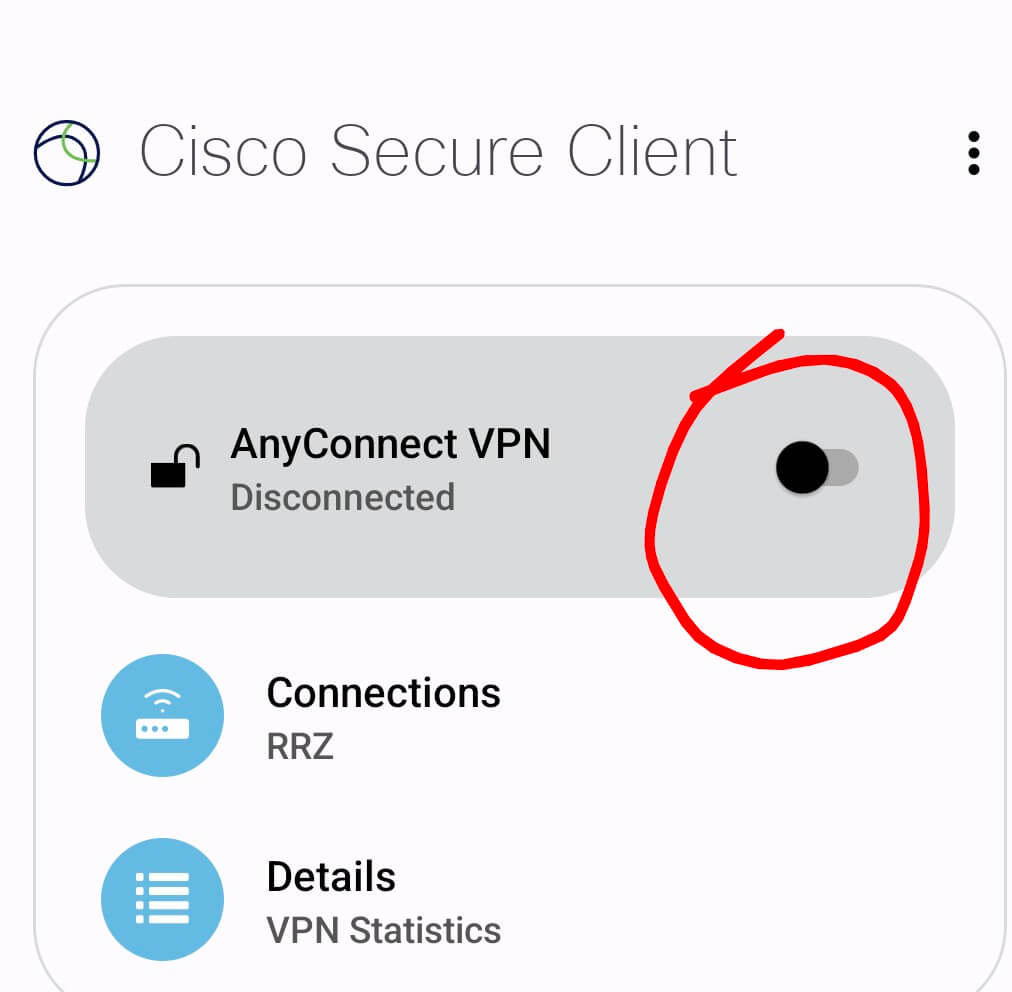
Step 6
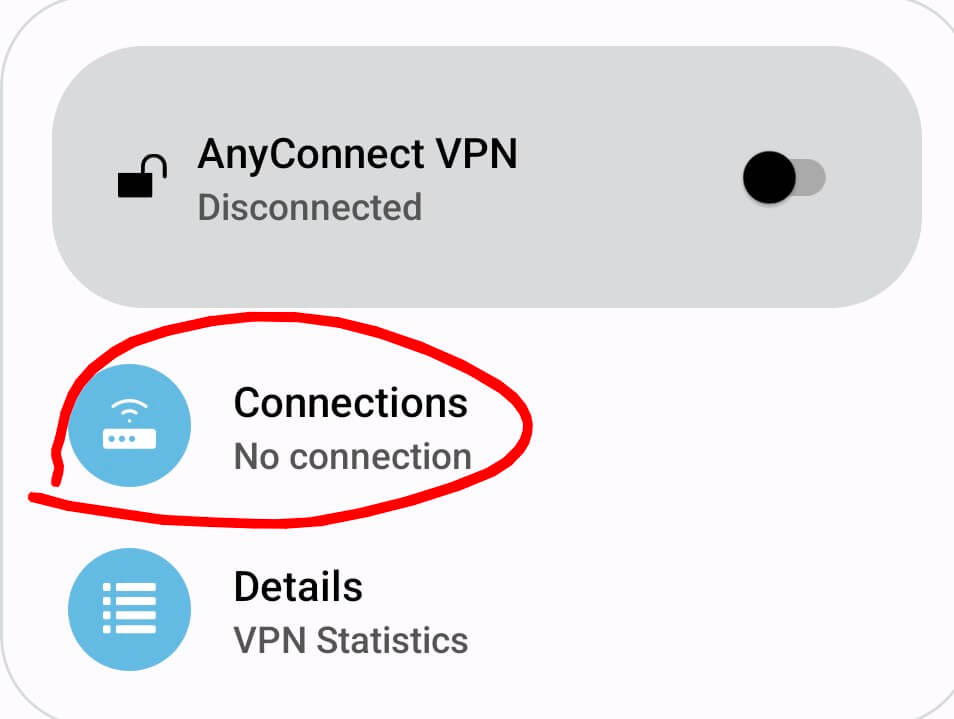
Activate the connection in the main menu using the slider
Step 7a
A webpage will open where you must log in with your user ID (b.....) and the corresponding password

Step 7b
If your user ID is already subject to 2FA, you must also authenticate with a second factor. If not, you can skip this step. You can find all information about 2FA here
Step 8
Confirm the connection request

Done / Completion
The VPN connection has been successfully established

Disconnecting
To disconnect, use the slider from Step 6 accordingly