First Steps
1. Git Download
You can download Git from git-scm.com/downloads or find it in the package management program of your operating system.
2. Access
You can log in to GitLab at the URL https://gitlab.rrz.uni-hamburg.de (Gitlab Ultimate for research and teaching only) or https://gitlab-ce.rrz.uni-hamburg.de (GitLab Community Edition for use other than research and teaching). Please use the tab “Benutzerkennung” and enter your user ID (B-Kennung) and your password. External persons without a user ID with a local GitLab account please use the tab “Standard” and log in with your local access data.
For GitLab-Ultimate: 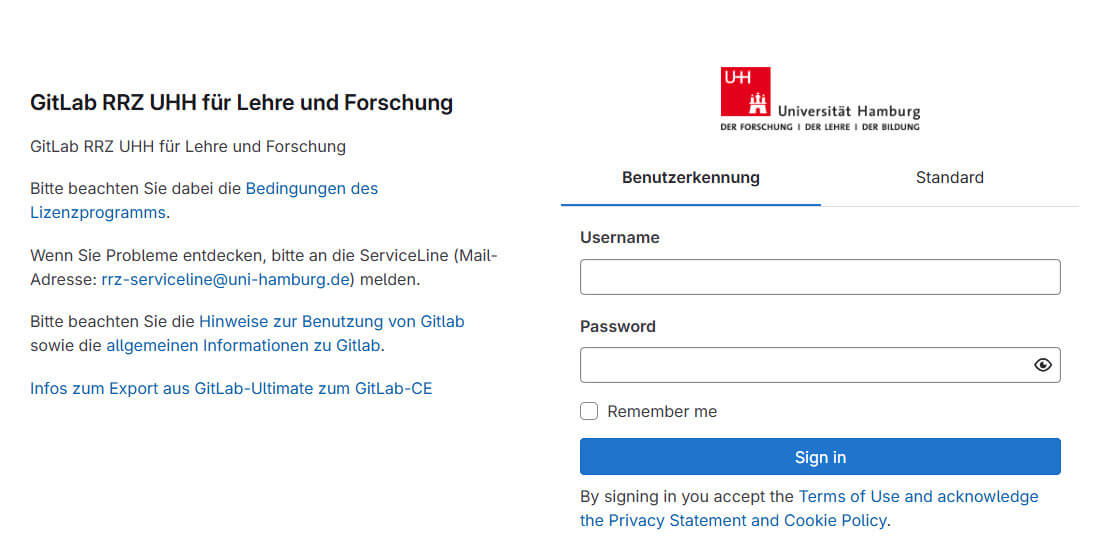
For Gitlab-CE:
For GitLab for teaching and research, please read and accept the GitLab-Utlimate Terms of Use:
3. 2FA
Due to a high number of external project/group collaborators, gitlab does not use the UHH's shibboleth (and therefore does not use the UHH's 2FA procedure).
GitLab uses the 2FA procedure with passkeys, with an OTP (one-time password authenticator) app or a WebAuthn device for login security.
When logging in, you will be asked for an additional one-time password after entering your usual ID and password. This can be generated either with an app installed on your smartphone such as Google or Microsoft Authenticator or with a WebAuthn device such as a FIDO stick. You can find detailed instructions in English on the GitLab page.
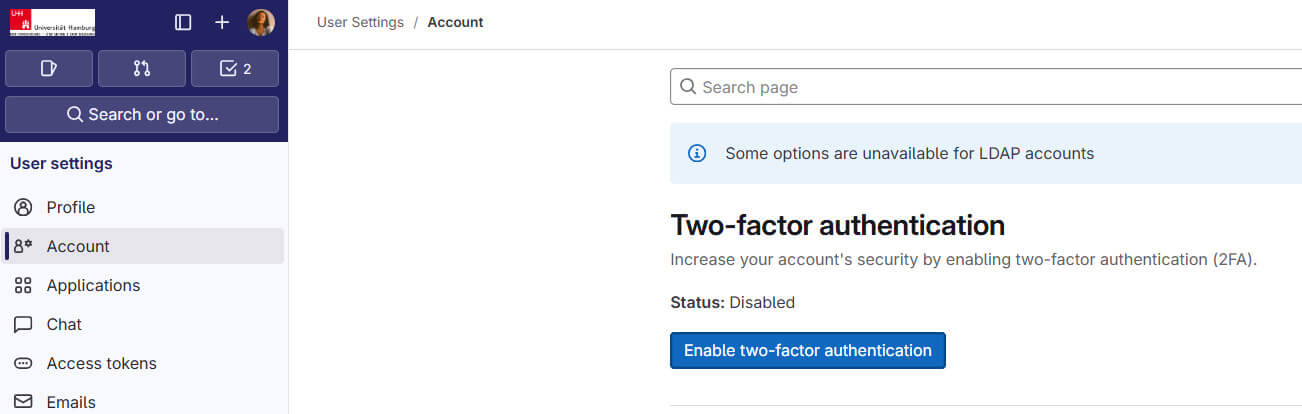
To activate 2FA, select in your settings "Account → Enable two-factor authentication".
Then you'll have 3 options: to register passkeys, an one-time password authenticator (OTP) or a WebAuthn device.
1. Passkey: You can use your Windows passkey (Windows Hello) as a passkey. To do this, go to "Edit profile" -> "Account" -> "Access" -> “Password and authentication”, click “Passkeys sign-in”, then click “Add passkey” and follow the setup steps on your screen:

2. OTP: For the OTP option, scan the QR code shown with your Authenticator app or, if you cannot scan the QR code, enter the details shown manually in the app and then enter the one-time password (verification code) generated in the app into GitLab.
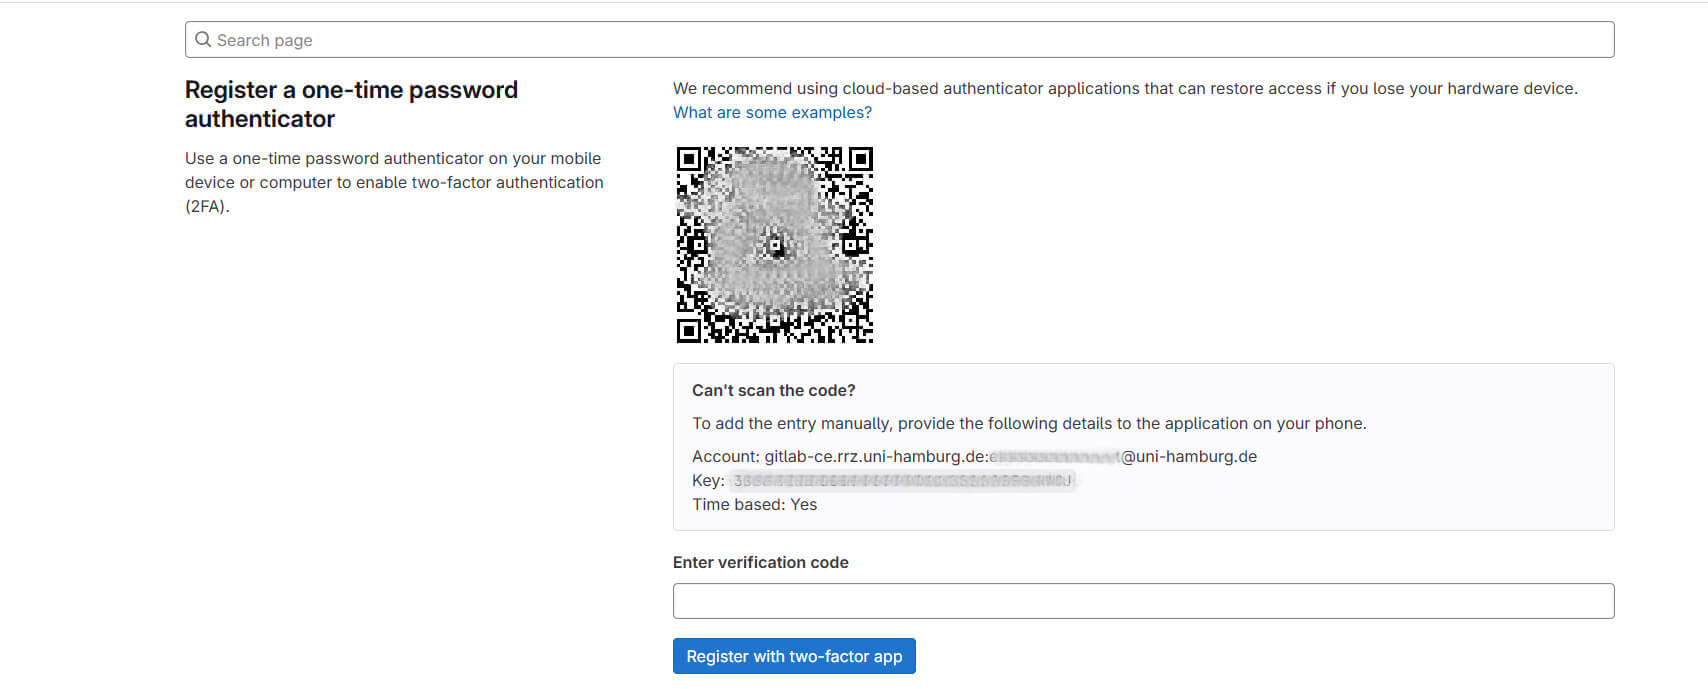
GitLab will then register the app and display a list of recovery codes. These codes should be kept in a safe place. They make it possible to restore access to the account if, for example, you lose your smartphone and therefore the app.
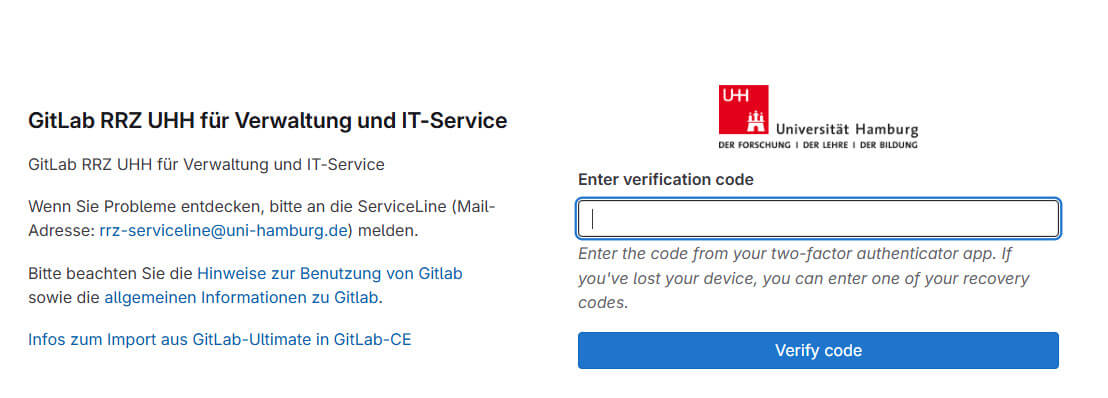
The next time you log in to GitLab, you will be prompted to enter the one-time password (verification code) after entering the ID and password:
3. WebAuthn device: A WebAuthn device (FIDO2 stick or with some browsers such as Chrome also Windows Hello) can be registered on the same page as an alternative 2FA method:
You can then use your device instead of the app to log in. After entering the ID and password, you will be prompted to insert the WebAuthn device (e.g. FIDO stick):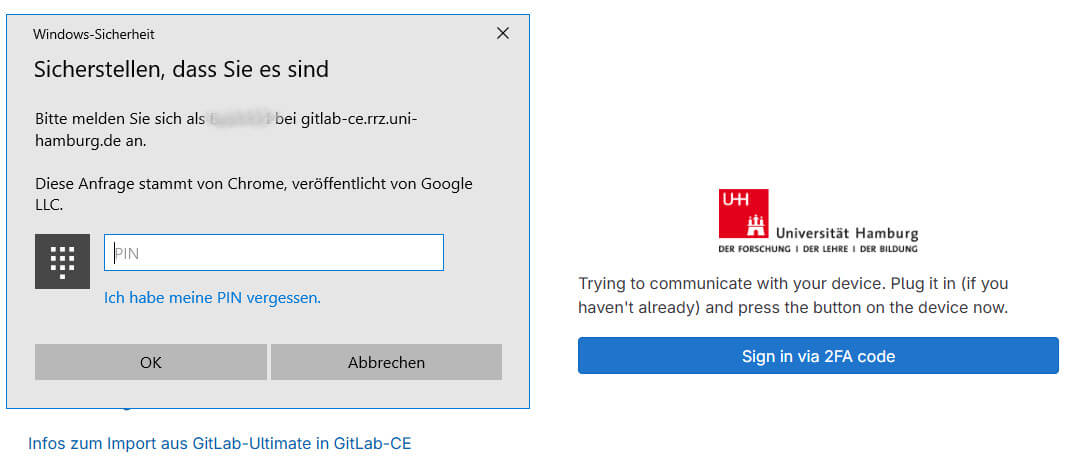
Please also generate recovery codes on the same page so that you can also log in if you do not have your OTP app or webauthn device to hand. This list can also be regenerated if it is almost used up.
Note: Authentication on the command line (e.g. for cloning projects on your own computer) using HTTPS with the password is no longer possible after activating 2FA. Please use access on the command line with the SSH key or with the personal access token, see point 5 of the “First steps”, for more information see GitLab documentation.
If you have lost the 2FA app or device and also the recovery codes, please contact us via the RRZ ServiceLine(rrz-serviceline"AT"uni-hamburg.de).
4. SSH Keys
To be able to use Gitlab via SSH (only accessible in the UHH network), you must first store your SSH key in Gitlab.

If you click on “generate it”, you will receive instructions on how to generate SSH keys, which you can add to your personal profile under “User settings”→“SSH keys”.
Please note: for security reasons, access to Gitlab via SSH is only possible from the university network. From outside, please use https or SSH via VPN. External persons with a local Gitlab account can only use https.
5. Personal Access Tokens
Once 2FA has been activated, authentication on the command line (e.g. for cloning projects) via HTTPS will only be possible with a personal access token.
Create token:
Please click on your avatar in the left side bar -> Edit profile -> Access tokens.
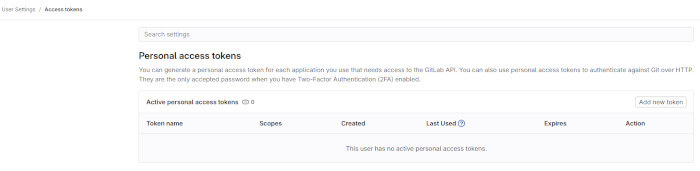
Click on "Add new token".
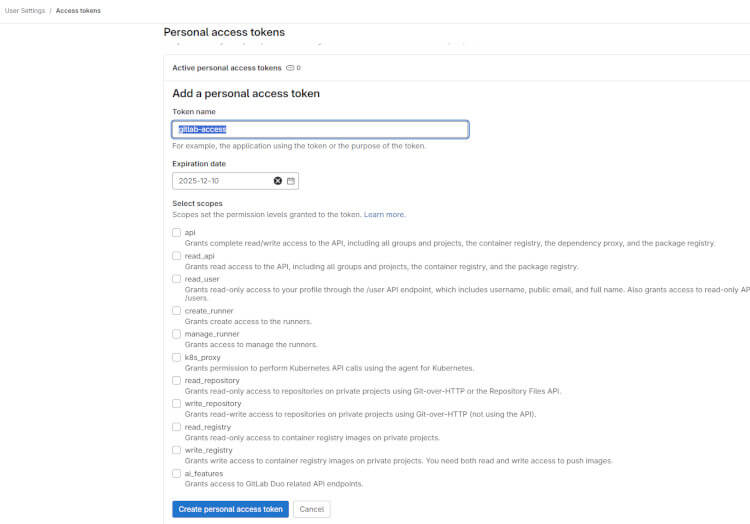
- Under “Token name”, enter a name for the token.
- Under “Expiration date”, enter the expiration date of the token. It expires on this date at midnight (UTC). If you do not set an expiration date, it is automatically set to 365 days from the current date. Token's maximum validity period is 365 days. From GitLab 17.6 it can be increased to 400 days.
- Select the desired scope for the token.
- Then click on “Create personal access token”.
- Save the token in a secure location. After leaving the page, you will no longer have access to the content of the token.
6. Create project in GitLab
Create a new Git project under „projects“→ „new“ an.
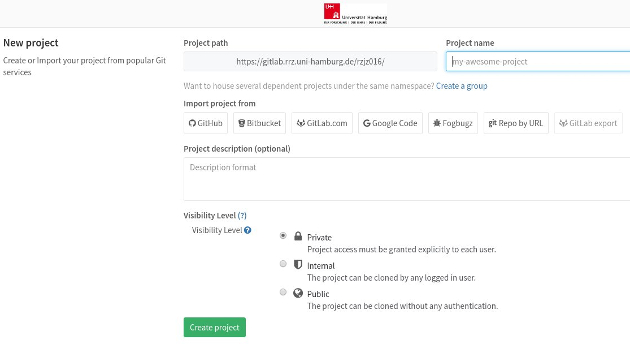
On the following page you will find instructions on how to make global Git settings, create a new repository or convert an existing folder into a repository. Here are some examples of the server gitlab.rrz.uni-hamburg.de:
-
Global Git settings:
git config --global user.name "YOUR-USER-ID"
git config --global user.email "YOUR-EMAIL-ADDRESS"
-
Create new repository:
git clone https://gitlab.rrz.uni-hamburg.de/YOUR-USER-ID/REPOSITORY-NAME.git (GitLab Ultimate)
oder
git clone https://gitlab-ce.rrz.uni-hamburg.de/YOUR-USER-ID/REPOSITORY-NAME.git (Gitlab-CE)
cd REPOSITORY-NAME
touch README.md
git add README.md
git commit -m "add README"
git push -u origin master
-
Convert existing directory to a Git repository:
cd EXISTIENG-DIRECTORYgit initgit remote add origin https://gitlab.rrz.uni-hamburg.de/YOUR-USER-ID/REPOSITORY-NAME.git (GitLab Ultimate)oder
git remote add origin https://gitlab-ce.rrz.uni-hamburg.de/YOUR-USER-ID/REPOSITORY-NAME.git (GitLab-CE)git add .git commitgit push -u origin master
7. Git on the command line
Proceed with your project files in a similar way to the ‘README’ used at the beginning:
- Change branch (
git checkout) - Download the current status of the project, if applicable (
git pull) - Create or change files:
- reserve (
git add) - save (
git commit) - upload (
git push)
- reserve (
You only need a network connection to the Gitlab server in the last step. GitLab provides you with a graphical overview of the development of your project and offers many other tools.
You can find detailed documentation on Git at git-scm.com/book/.
For an overview of the command line commands s. git-scm.com/docs.