Installation Sophos Intercept X (university-owned Macs)
You can obtain the installation sources for installing Sophos Intercept X on university-owned devices from your IT managers.
Before installation, make sure that the old Sophos antivirus is uninstalled. Instructions for uninstalling can be found here: Sophos Mac uninstallation
To fix a problem with the Sophos Updater, please follow this handout.
To install, please proceed as follows:
macOS 11 and macOS 12
- Get the Sophos Intercept X installation package and place it on your local hard drive.
- Disconnect the VPN connection to the UHH network, otherwise there might be issues with the registration.
- Unpack the ZIP by double-clicking it and run the program.
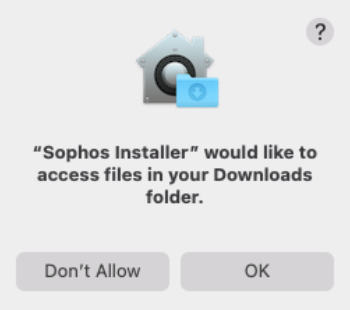
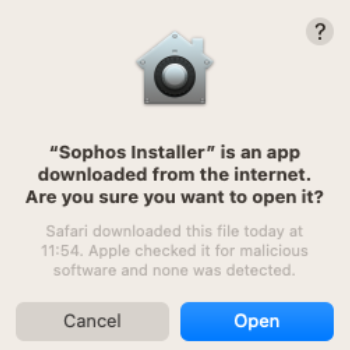
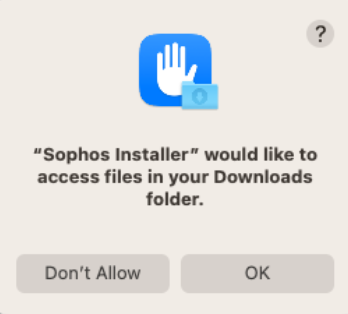
- Confirm that you want to open the loaded program and grant access to the Downloads folder.
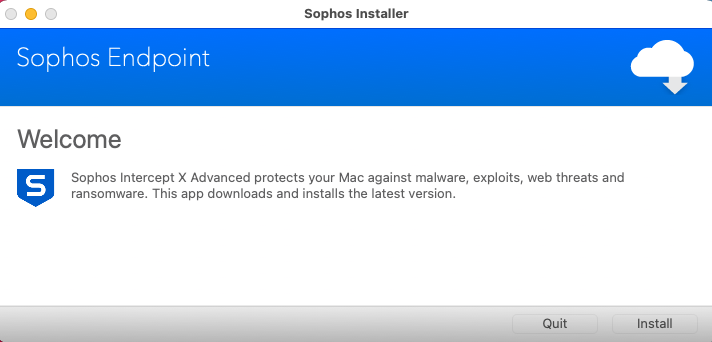
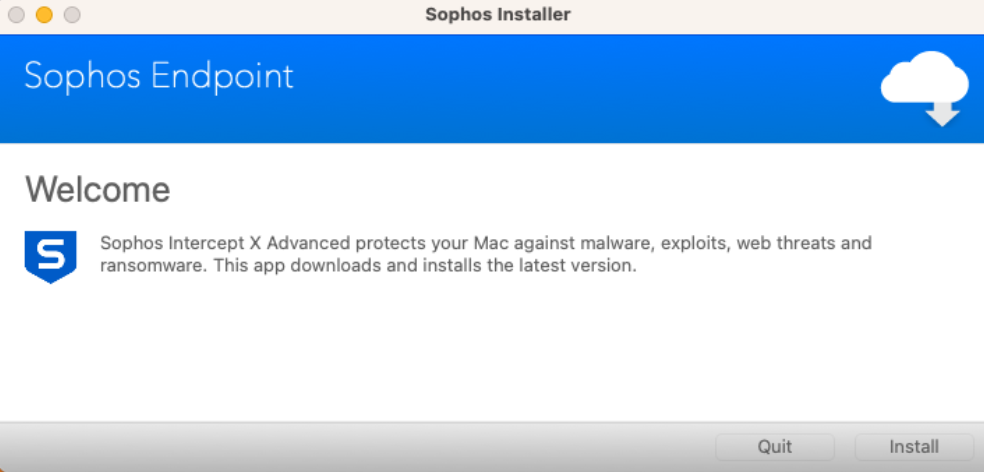
- Start the installation process by clicking Install.
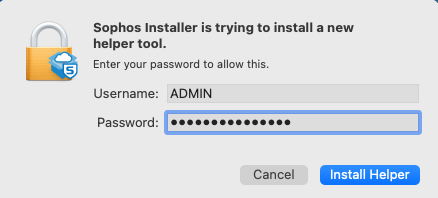
- Enter the password to administer your Mac.
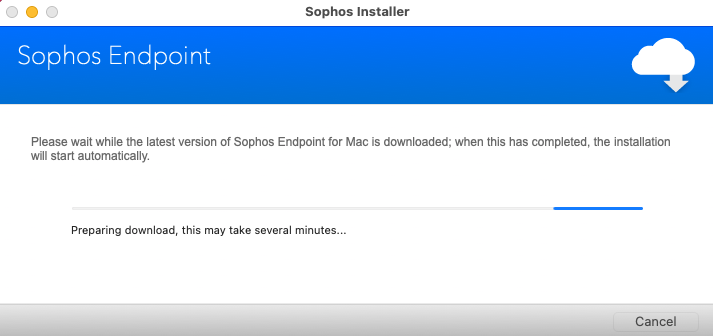
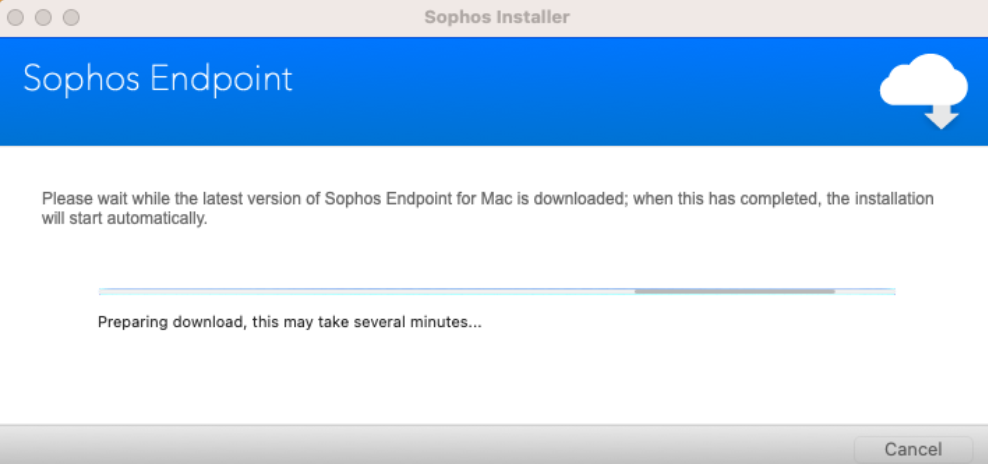
- The installation process will download some more necessary files and install the program.
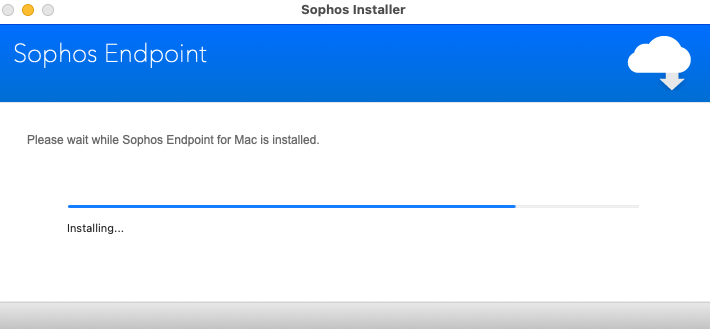
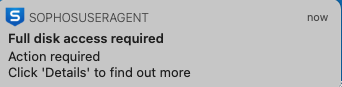
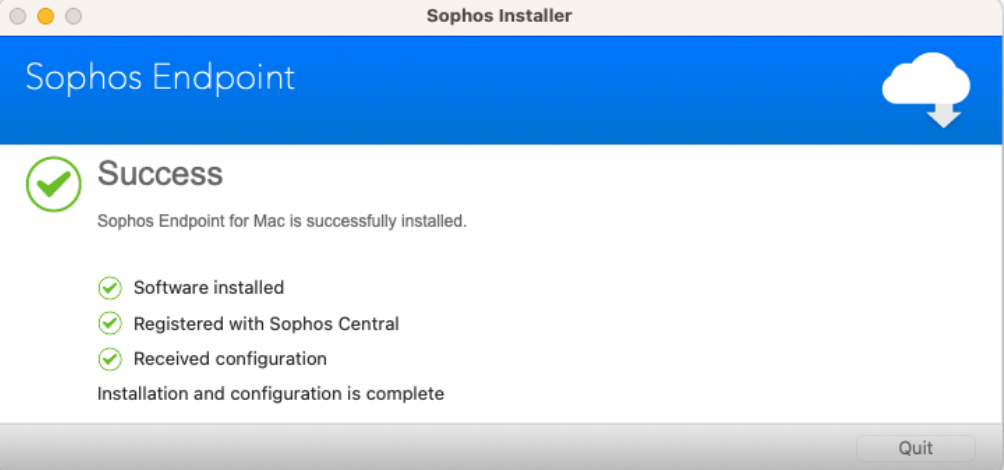
- The successful installation is now displayed, but various permissions are still missing.
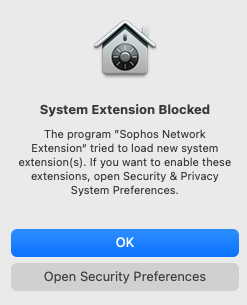
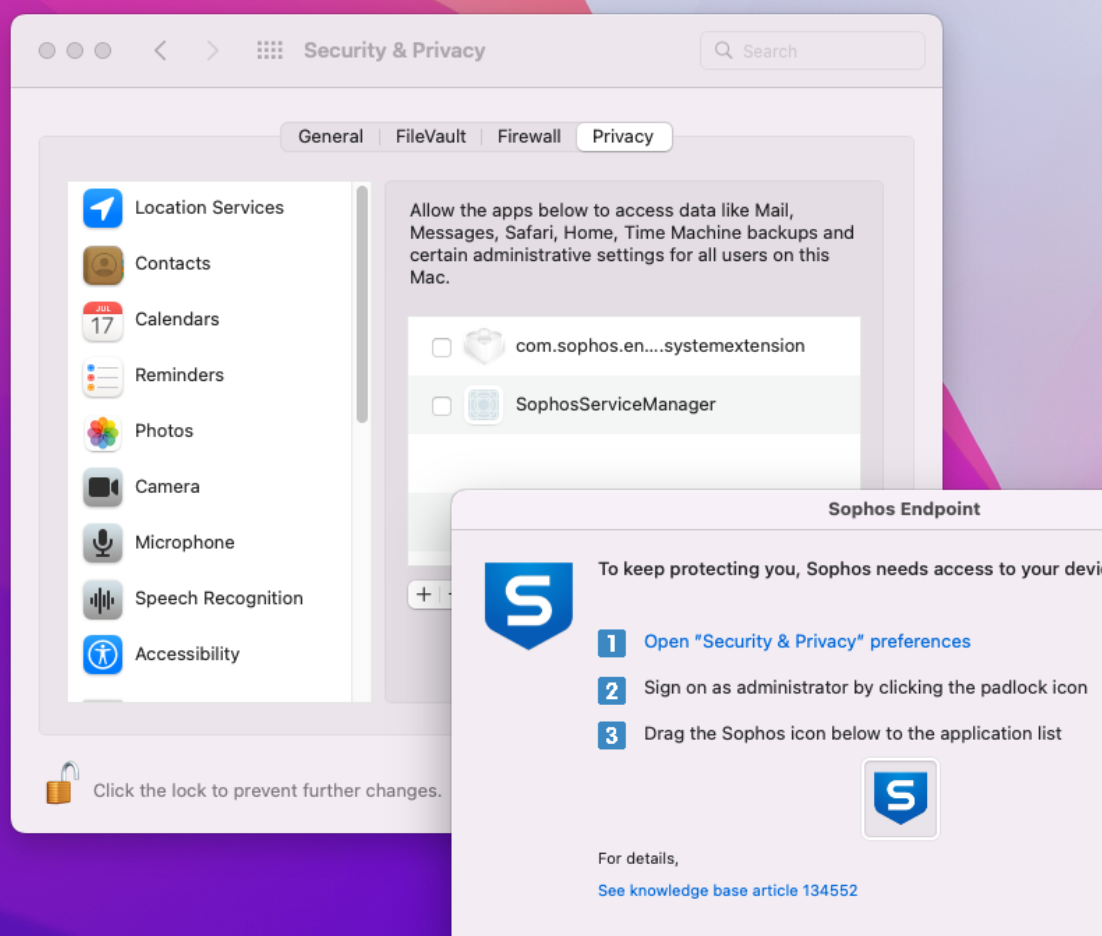
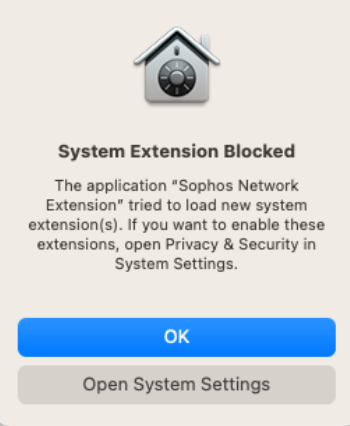
- Two windows will open to grant the necessary permissions. Click Open System Preferences.

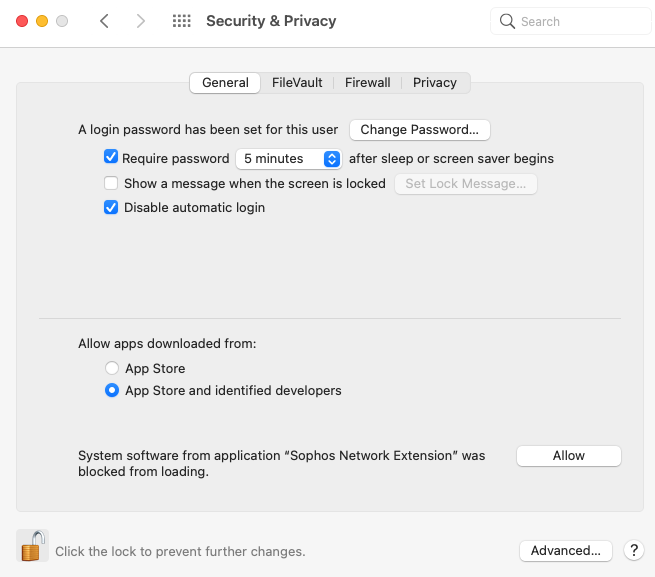
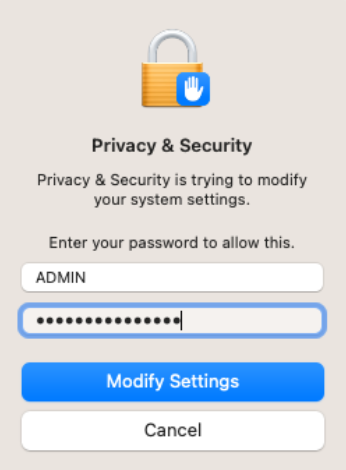
- First click on the lock at the bottom left and enter the admin password again.
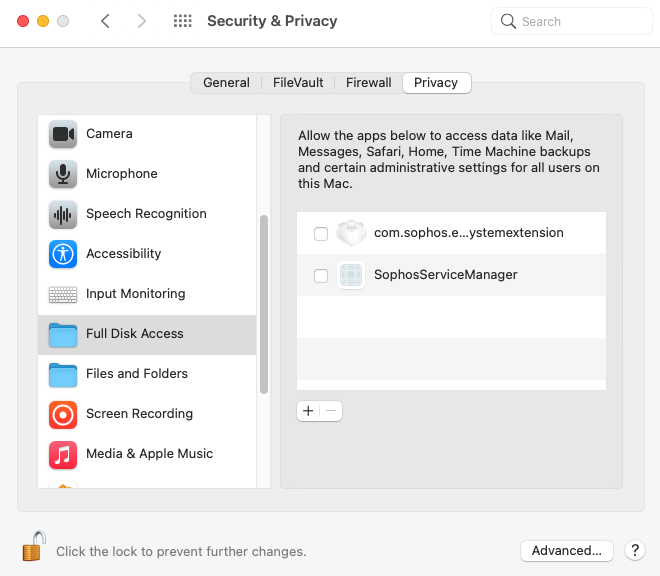
- Then click on Allow the system settings.
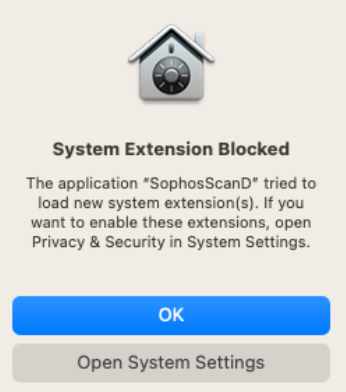
- Check the boxes for the two Sophos entries.
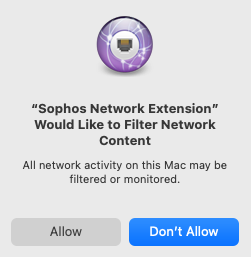
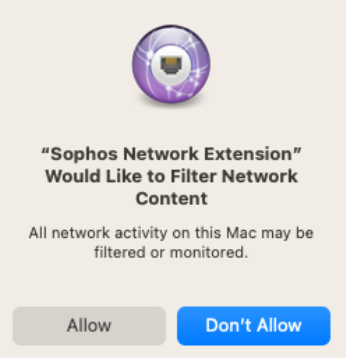
- Another window opens, this one is about filtering network content. Allow this.
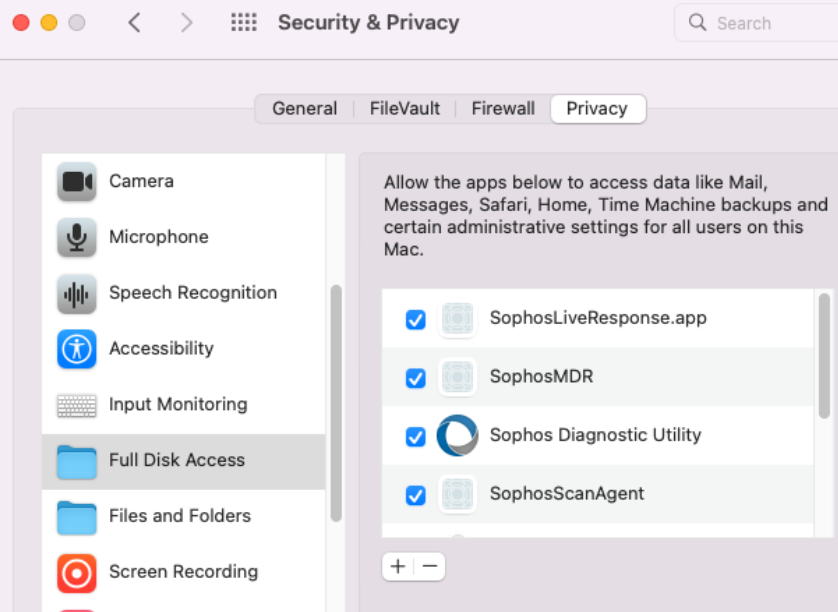
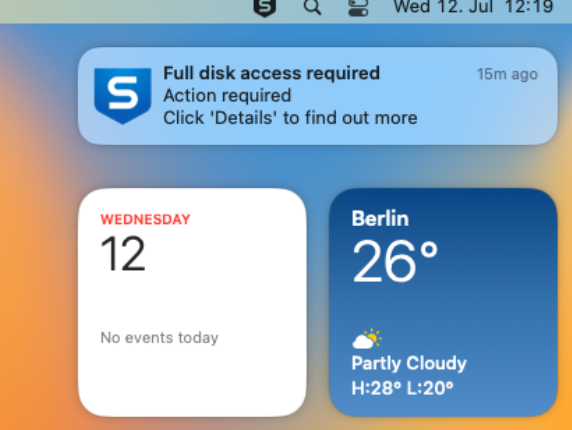
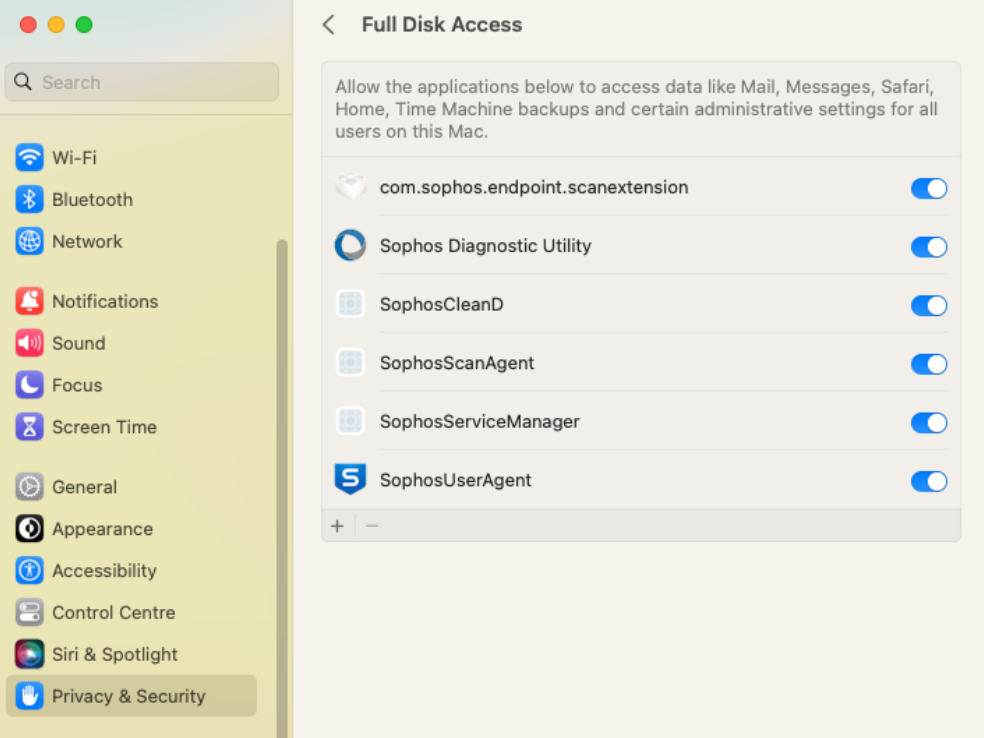
- In the meantime, Sophos Intercept X is running on your Mac, but it is still missing permissions for full disk access. Another window will open. When it doesn't, see here how to open it again.
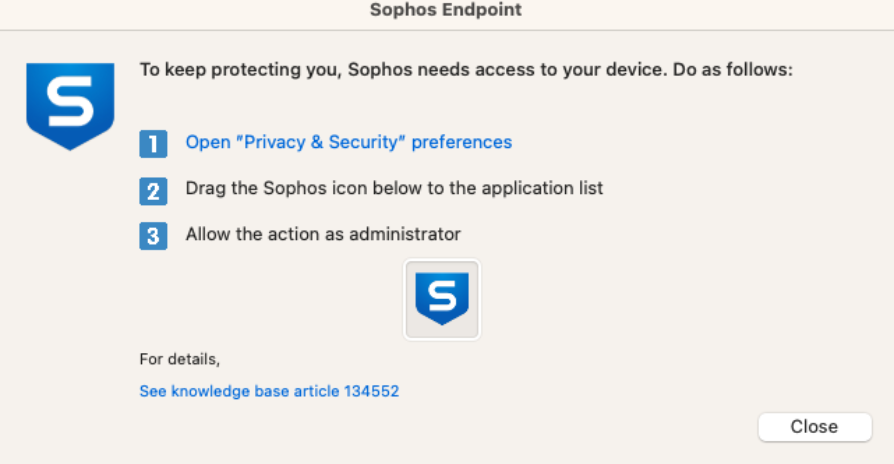
- If necessary, open System Preferences again and drag the Sophos shield icon into the list of existing entries.
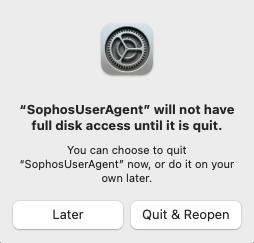
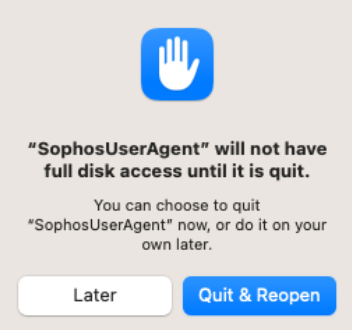
- Confirm that Sophos needs to be restarted once. Restarting the Mac is now also a good idea.
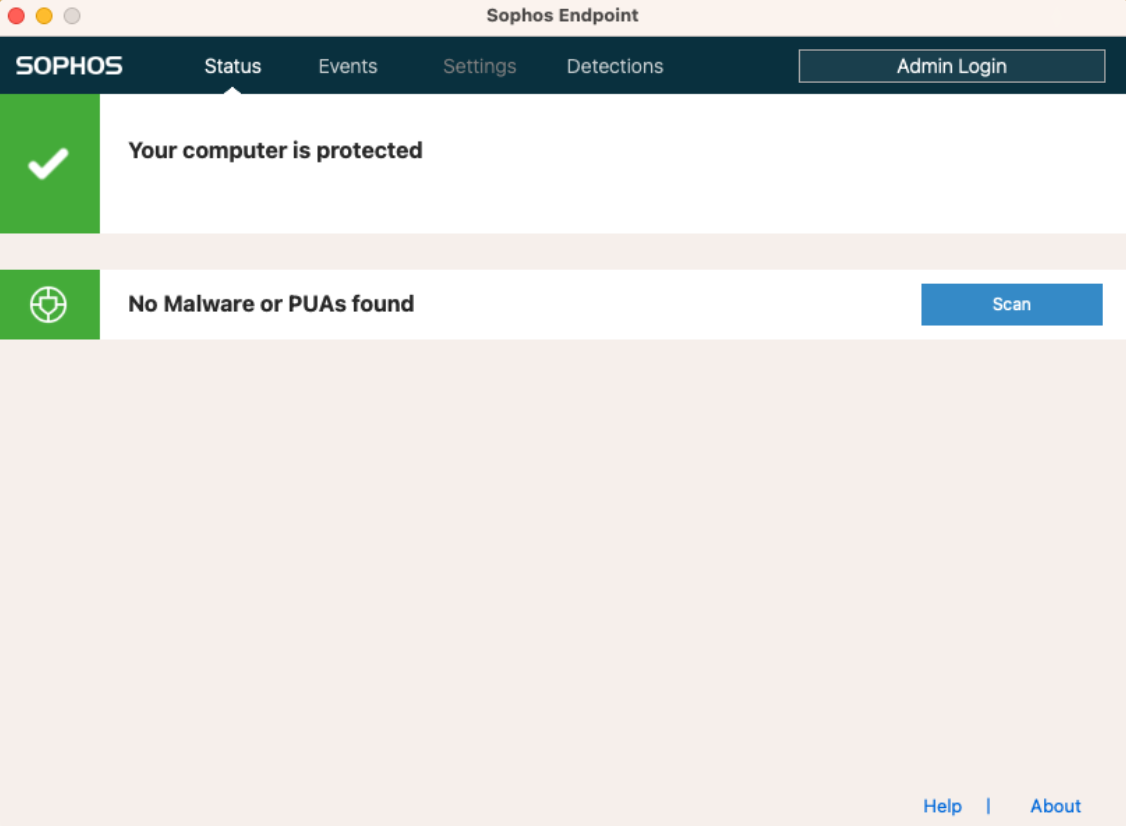
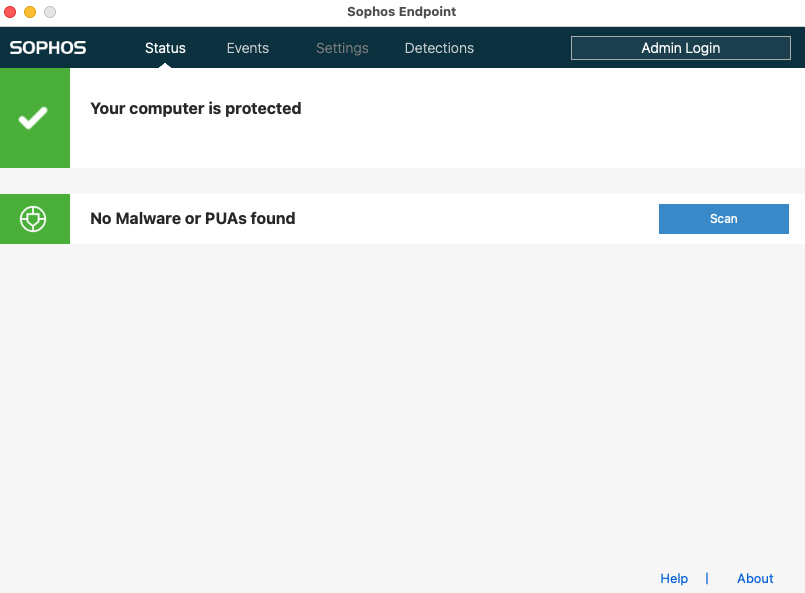
- Done, Sophos Intercept X has been fully installed.
macOS 13
- Get the Sophos Intercept X installation package and place it on your local hard drive.
- Disconnect the VPN connection to the UHH network, otherwise there might be issues with the registration.
- Unpack the ZIP by double-clicking it and run the program.
- Confirm that you want to open the downloaded program and grant access to the Downloads folder.
- Start the installation process by clicking Install.
- Enter the password to administer your Mac.

- The installation process will download some more necessary files and install the program.
- The successful installation is now displayed, but various permissions are still missing.
- A window will open to grant the necessary permissions. Click Open System Preferences.

- Then click on Allow in the system settings. Enter the admin password again.

- A second Sophos extension also needs confirmation by clicking Allow in System Preferences.
- Another window opens, this one is about filtering network content. Allow this.
- In the meantime, Sophos Intercept X is running on your Mac, but it is still missing permissions for full disk access. Another window will open. When it doesn't, see here how to open it again.
- If necessary, open System Preferences again and drag the Sophos shield icon into the list of existing entries.
- Confirm that Sophos needs to be restarted once. Restarting the Mac is now also a good idea.
- Done, Sophos Intercept X has been fully installed.